Steps:
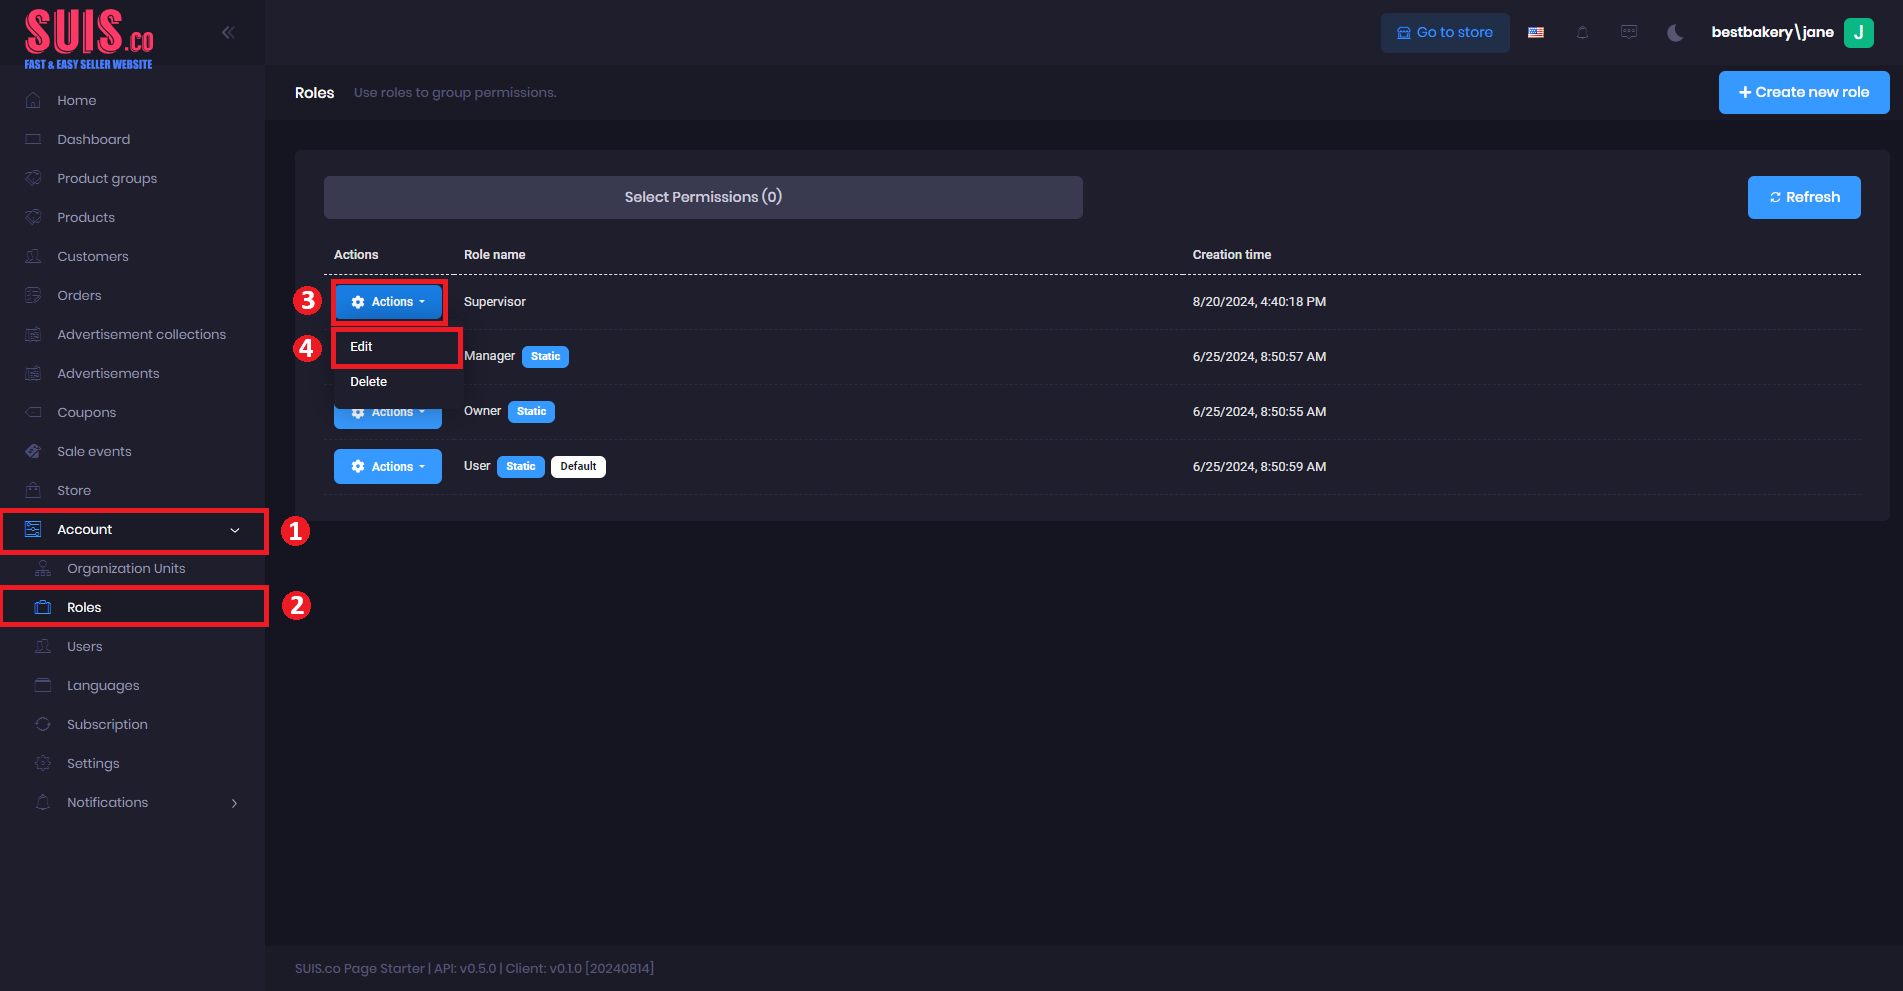
- Navigate on the sidebar and click Account.
- Click Roles.
- Click Actions on the selected role.
- Click Edit.
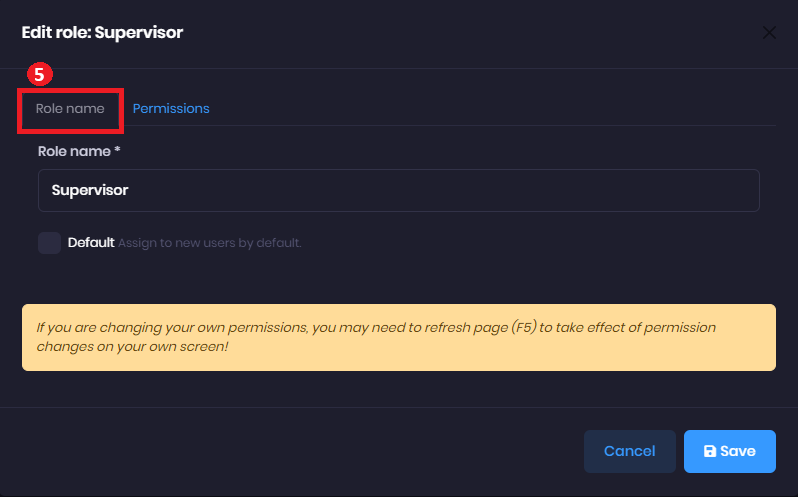
- In the Role name tab, a new role form will appear.
- Role name (*) - Enter the new role name. (Example: Supervisor)
- Default - Check the Default checkbox if the role is to be automatically assigned to new users.
📝
Notes: Fields marked with (*) are required.
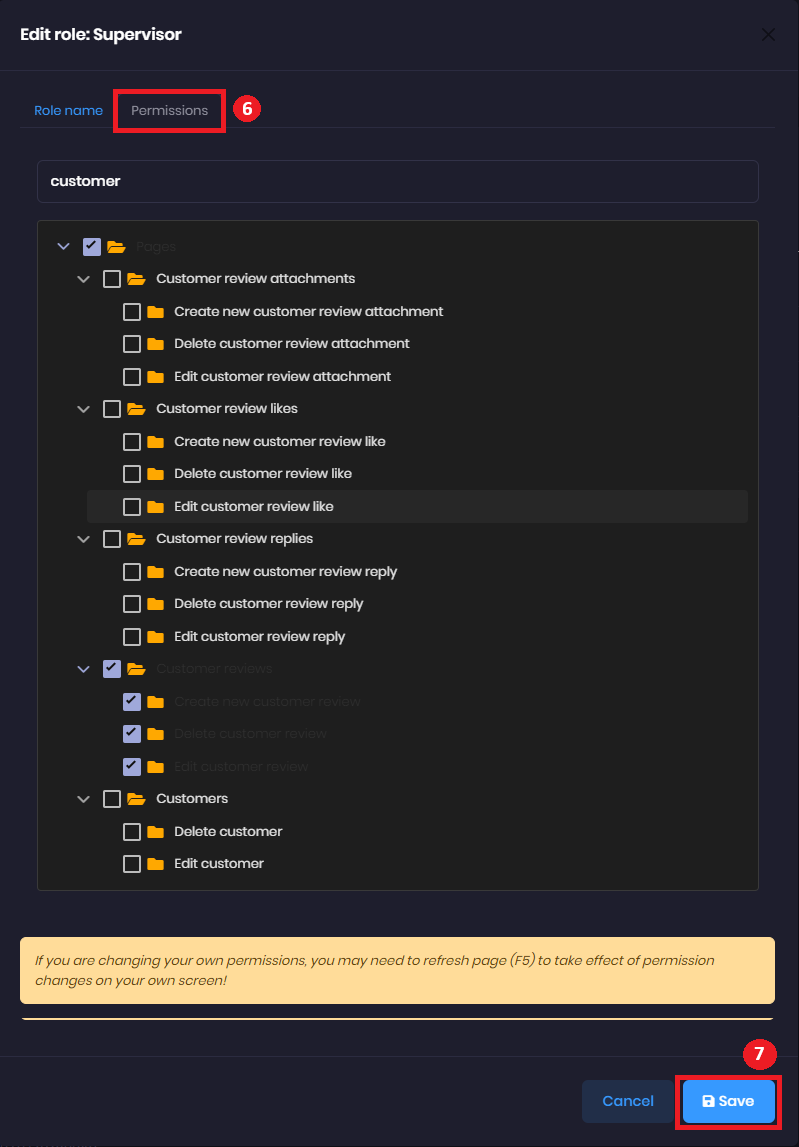
- In the Permissions tab.
- Permission access - Check the checkbox to see if you want to grant the role authority access to the specified resources.
- Click the "Save" button to save.
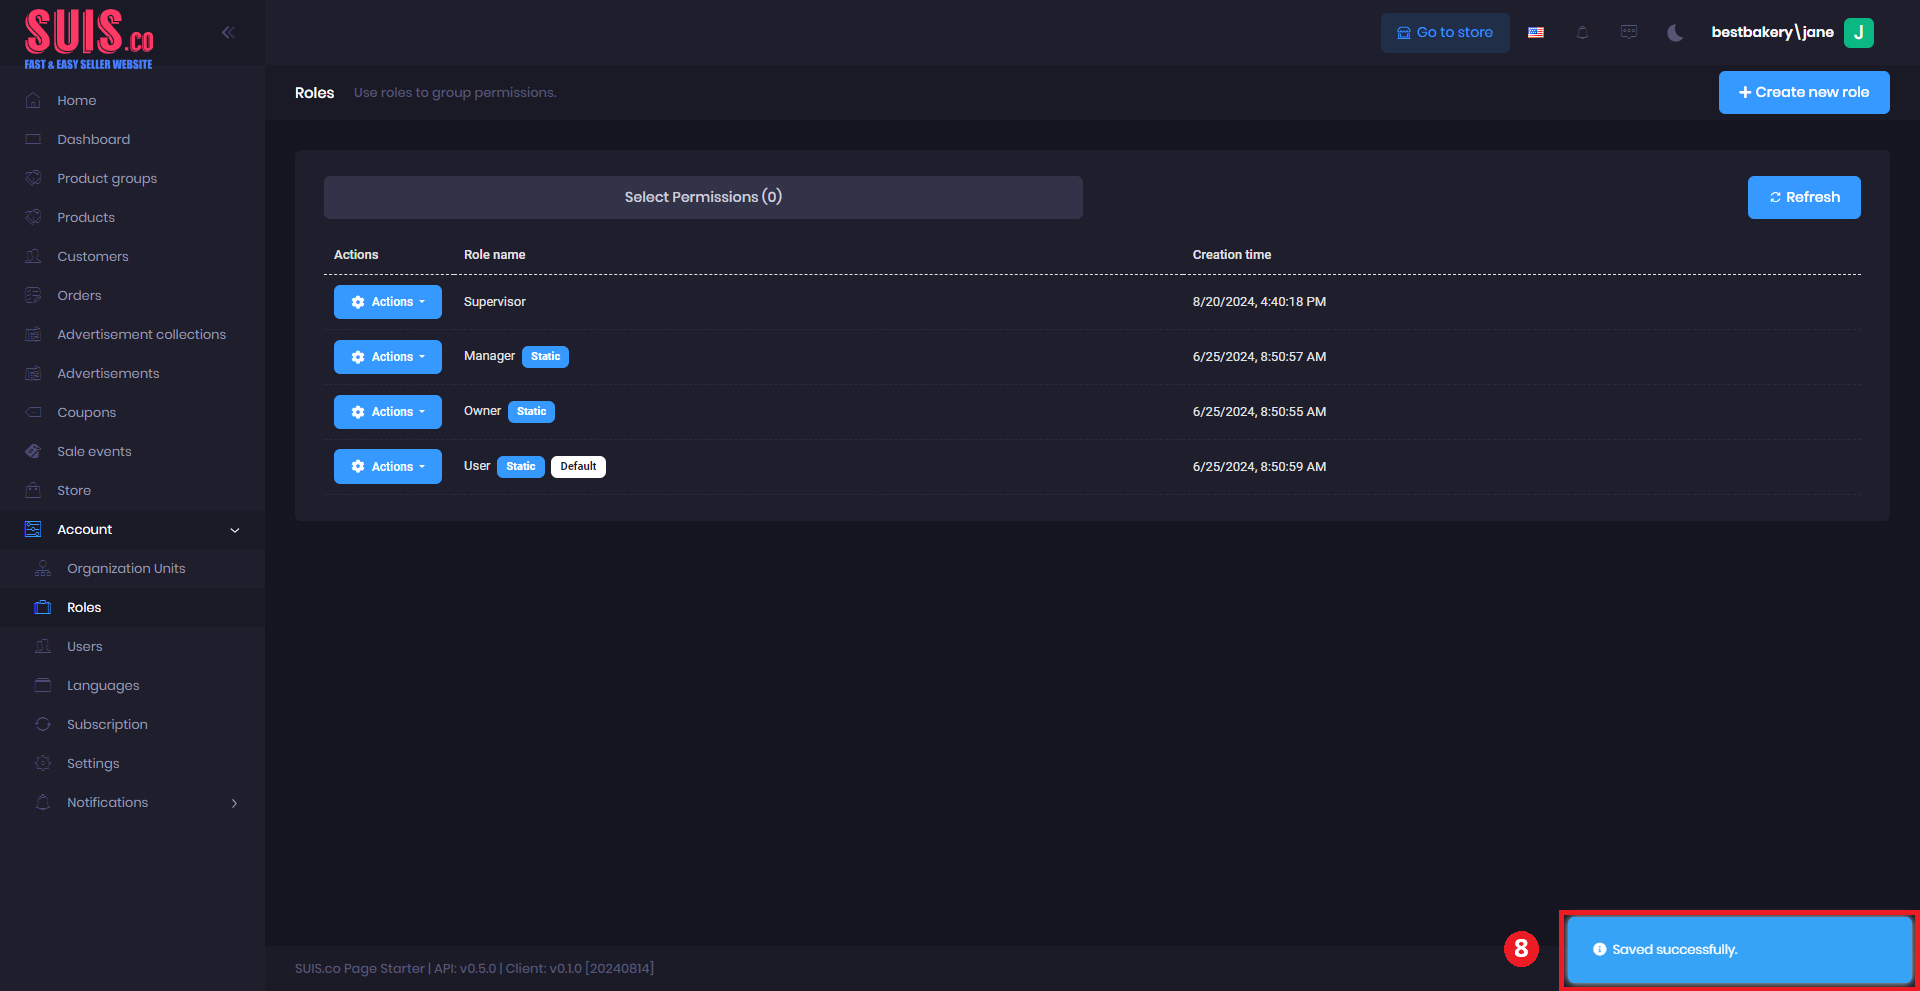
- Confirm your edits are saved with the notification.